Create Submenus and Conversation Flows in AutoResponder
- Tim Kosmala
- Apr 2, 2021
- 3 min read
Updated: Sep 8, 2023
With the Submenu feature of AutoResponder you can add further rules to any rule to make them executable only after the specific rule has been triggered last. You can find the setting at the bottom of each rule.
For example, you can create conversation flows with multiple follow-up questions to get information from a user. You can also create several different submenus where the options can all be selected with e.g. 1, 2 and 3 - depending on which submenu the user is currently in. Have a look at the instructions below.

Spanish? Entonces mira este video de YouTube.
Follow these steps to use the Submenu feature in AutoResponder
1. Add an AutoResponder rule which replies with the first question or available menu options.
2. Save ✔ the rule and open it again.
3. Scroll down to the Submenu option and tap +.

4a. Configure the subrule to match one of your available menu options and save ✔.
4b. Instead of multiple options you can also add just one subrule which replies to all messages to continue your conversation flow with the next question. Save ✔ the new subrule.
5. Repeat step 4a until all available menu options are covered.

6. Additionally you can let the user choose again in case of a wrong input. Therefore add another subrule with +.
7. Tap the All button in the upper right corner of the new subrule to answer all messages which don't match one of the available options and enter a reply. (If you also want to force a user to stay in the submenu if he sends a message which would trigger a rule of the main list, set the rule to Pattern Matching instead of Exact Match and it behaves like an exact rule too.)
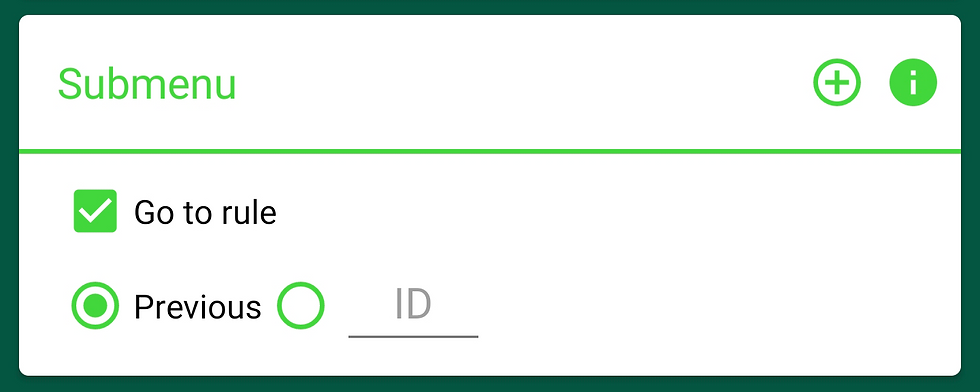
8. Scroll down to the Submenu option and enable Go to rule > Previous.

9. Save ✔ the new subrule.
10. In order to give the user the possibility to leave the menu, you can add another subrule with +.
11. As the received message type any cancel option you like, then enter a reply and save ✔.
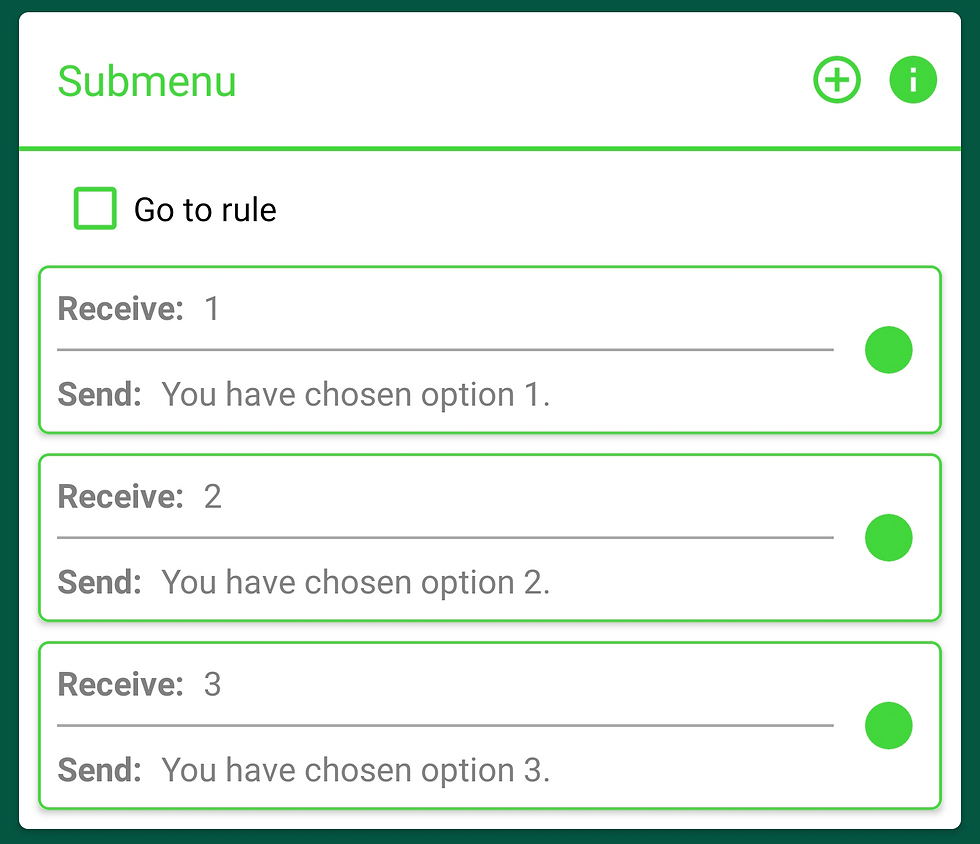
12. Now you should have something like this:

13. Repeat everything from step 3 to create further submenus within any subrule.
14. Additionally your contacts can jump to other menus if you use the Go to rule > Custom ID option to make the subrules of the defined rule executable for the user. Note that jumping to another menu does not trigger its reply – enter a customized reply in the current rule instead. You can find the ID at the top of any rule:

15. That's it! You now have submenus and conversation flows for your chats.

Troubleshooting
AutoResponder submenu not working?
NOTE THAT THIS IS NOT REQUIRED IN THE LATEST VERSIONS (3.0.7+) OF AUTORESPONDER ANYMORE. SUBMENU RULES ARE NOW PRIORITIZED. Please note that rules in the main list are always executed with priority (they have higher priority by default because they were created earlier than the subrule and have a lower ID). If the same received message is set for a submenu rule as for a rule in the main list, the submenu rule will not be executed.
To fix this problem, you can try one of the following solutions:
Set the submenu rule to a different received message than the rule in the main list
Use the Pause rule for… option for the main menu rule
If both rules are set to * to reply to all messages: Set the submenu rule with * to Pattern Matching instead of Exact Match. In this case, AutoResponder prefers this rule as more specific than the default * rule.
Otherwise just create a new dummy rule in the main list, move the main rule with the same received message (as the subrule) below the new dummy rule. Then you can delete the dummy rule again. This way the main rule has the lowest priority possible (because it's the lowest rule in the rule list) and therefore also has a lower priority than the subrule which should fix your issue :)